The CIColorCube filter is quite an interesting beast. It is incredibly hard to set up properly, given the odd data requirement, but can recreate very complex color effects efficiently.
inputCubeData
The cube data is a NSData / Data object containing a sequence of floating-point color values where the red, green, blue, and alpha channels are represented not by the usual 8-bit UInt, but by 32-bit Floats. This is Core Image’s internal working color format, which allows much greater precision when mixing colors and prevents rounding errors. The size of the NSData must be precisely (size^3 * 4 * sizeof(CGFloat)) bytes where size is one of the following: 4, 16, 64, or 256. That is to say, the width * height * depth * 4 color channels * the size of a CGFloat.
The CIColorCube documentation describes the format the data should take:
In the color table, the R component varies fastest, followed by G, then B.
Using this rule, we can produce a reference image that looks like this:
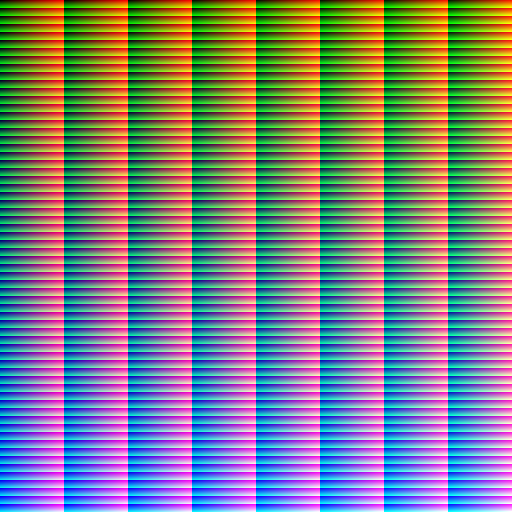
Certainly not your standard spectrum image, but it’s designed for Core Image’s consumption not our aesthetic enjoyment.
PNGs are the key
One major problem encountered working with cube data as NSData / Data is that it is quite large. Color cube data with a dimension of 64 requires (64 * 64 * 64 * 4 * 4) = 4,194,304 bytes or 4 megabytes. Each color cube you store in your app consumes 4MB of storage, which is pretty excessive! Luckily, there is a better way.
While storing the color cube data as CGFloats might be more precise, it is almost never necessary to have that level of precision when defining a color effect. We can use PNG images to encode the data for the color cube in a much more efficient format. For example, the reference image I included above (which is for a size 64 cube) occupies only 8kB on disk!
The other primary benefit of storing the data as a PNG is that we can use readily-available bitmap editing programs like Photoshop to modify them. This is crucial unless you want the Color Cube filter to produce output that looks identical to the input.
Here is a Gist that has Swift 2 and Swift 3 versions of a class that can generate these reference images: https://gist.github.com/JoshuaSullivan/5951e08ff0f3e155ef52220a181864e8
Alternatively, if you just want to download and use the images, you can get them here: Color Cube Reference Images
Create your effect
The next step is to create a color effect. You can use any kind of color transformation you like on the reference bitmap. It is important not to use any distortion, blurring or other kinds of filters that would change the layout of the pixels, unless you’re interested in some extremely glitchy looking results.
In Photoshop, I find it handy to work on an actual photograph, applying the filters as layer effects until I have something I’m happy with. Then I simply copy the layer effects onto the reference image and save the result. Here are some examples I made for my Core Image Explorer app:
This is a very high-contrast B&W filter, approximating having a deep-red filter on the camera using black and white film.
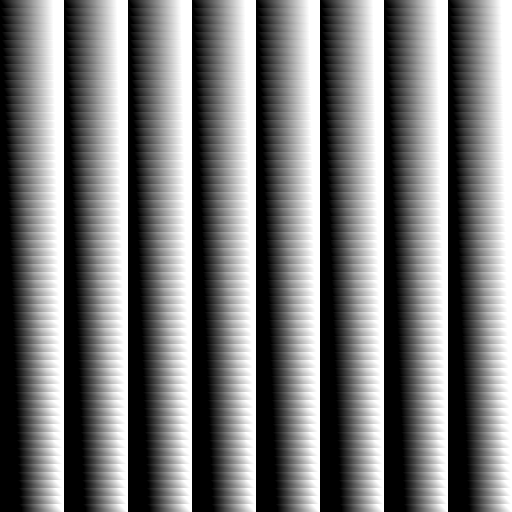
This is an inverted B&W filter which recreates the “hot black” infra-red view of a scene.
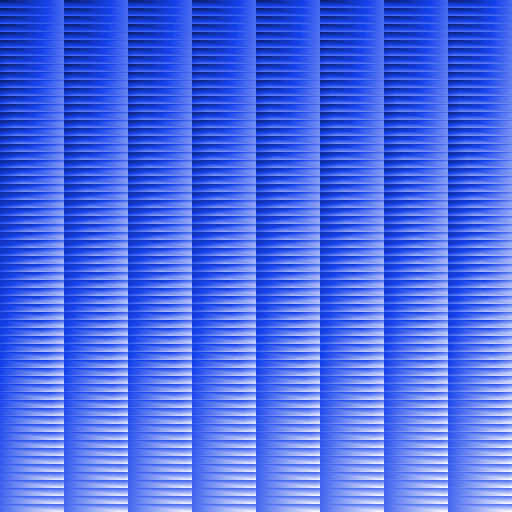
Changes the whole scene to shades of blue, as in a cyanotype photograph.
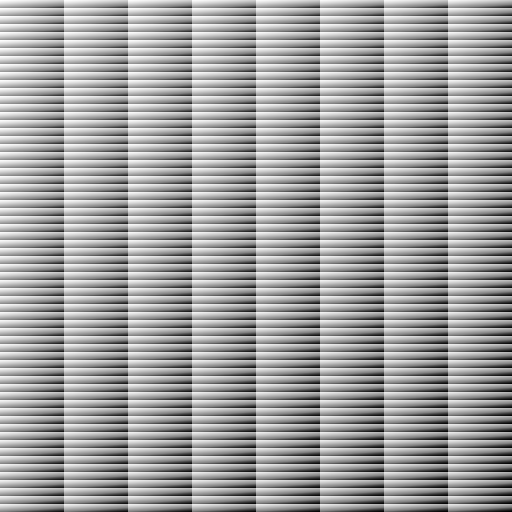
Changes things to a low-contrast green filter that approximates the view through night vision goggles.

The only limit for creating your effect is what you can imagine and accomplish without any pixel rearrangement.
Apply the effect
The final step to applying the effect is to use the PNG you have created to an image in your app. I’ve created a class which converts the PNG files to NSData / Data for the Color Cube filter:
https://gist.github.com/JoshuaSullivan/b575d96bfd8a4177d8d46352e5f36458
The usage is simple; at runtime, simply pass the static method your effect PNG as a UIImage and the color cube size that you’re using. The class will validate the image size and then attempt to convert the 8-bit per-channel PNG data into the 32-bit per-channel format that is required by Core Image.
[gist https://gist.github.com/JoshuaSullivan/b575d96bfd8a4177d8d46352e5f36458 file=”in_use.swift”]
Once the filter has been created, you can use it with whatever input image you want, including video input. Color Cube is a very performant filter, so it is a fantastic way to include color transformations into a filter stack.